Opera Girl Cooks
Menu
Home
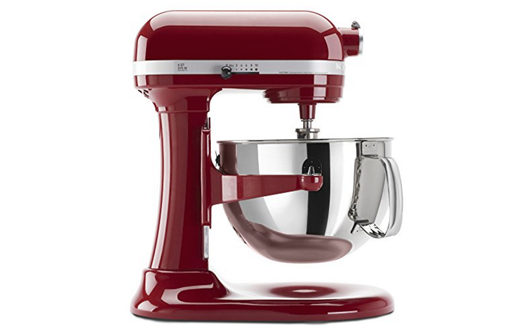
Appliances
Cleaning
Kitchen Accessories
Reviews
Blog
Ice Cream Maker: What’s The Best in 2022?
March 6, 2020
Robert A.
The Best Instapot Pressure Cooker in 2022
January 31, 2020
Robert A.
The Best Juicers on the Market
Reviews
Instant Pot IP-DUO60 – Pressure Cooker Review
January 31, 2020
Robert A.
Instant Pot IP-LUX60 – Pressure Cooker Review
January 31, 2020
Robert A.
Kitchenaid Spiralizer Reviews
January 31, 2020
Robert A.
KitchenAid Food Processor Attachment Review
January 31, 2020
Robert A.
Kitchen Accessories
The Best Bread Knife for To Have In Your Kitchen
The 10 Best Silicone Baking Mats
What’s The Best Salad Spinner?
The Best Peppermill Of 2022
The Best Kitchen Timer in 2022
The Best Garlic Press of 2022
Blog
15 Fun Kitchen Christmas Gifts for Anyone Under $25
January 31, 2020
Robert A.
The Best ‘Must Have’ Kitchen Gadgets List – 2022
January 31, 2020
Robert A.
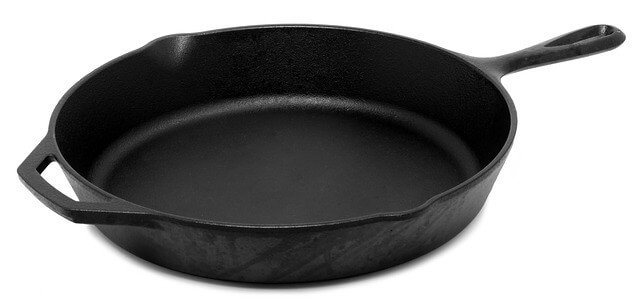
How to Clean Cast Iron Cookware & Maintaining it
March 18, 2019
Robert A.
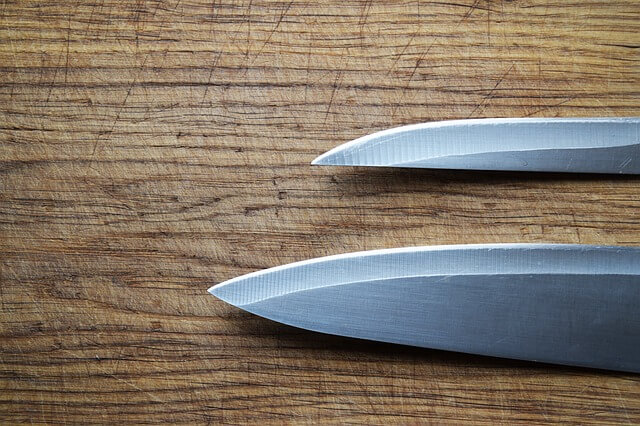
The 7 Best Knives Brands in the World in 2022
February 26, 2019
Robert A.